Huge resolution = huge file sizes
The new iPad has screen resolution of 2048×1536 (3.1Mpx), and an uncompressed RGBA image of this size takes 12.5MB. Number of pixels in all “@2x” assets is quadrupled, which usually doubles compressed file size. Clearly, good image compression is necessary.
Even if your app fits under the (recently increased) 3G download limit, faster download (and cheaper on metered 3G connections) and quicker installation is always better. It's part of your app's first impression.
First, fix the Xcode
Xcode comes with a very blunt “compression” built-in, which can make PNG files larger, and therefore slower to decode. Disable Xcode's PNG conversion and use ImageOptim instead.
Use PNG8+A format
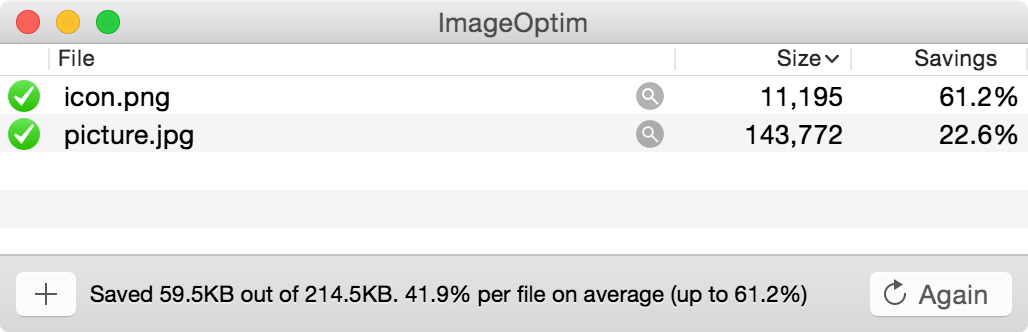
iOS supports the standard PNG8+Alpha format (with full alpha channel as the name suggests), which is a magic trick for file sizes: the “raw” image data in those files takes only ¼ of size of RGBA PNGs! Overall compressed files often become 60%-70% smaller, and can be further optimized with ImageOptim.
Photoshop does not support 8-bit+Alpha PNGs, but ImageAlpha does and generates them quite well. If you want to automate this conversion with a shell script/Makefile, use pngquant.
Use lossy compression and dithering
When resolution is so high that individual pixels are not distinguishable, small pixel-sized distortions are not visible either. This leaves room for applying heavier compression: less unique colors in paletted PNG images (light dithering is invisible), and lower quality setting in JPEG images.
Don't worry how Retina iPad images look on relatively low-res Mac screens—it's like looking at them under a magnifying glass. They are still going to have higher fidelity on Retina display than rasterized images used in CMYK printing!
TL;DR
See how I halved the size of Tweetbot for iPad app.